Compare to the miso making in the previous post, koji making requires slightly more care but it does not take no more than four days.
But what is koji? The very short answer is fungus-based microbe called ‘Aspergillus oryzae’ typically grown on rice, barley or soya beans.


From my experience, making rice or barley koji is relatively easy, but making soya bean koji is a bit more tricky since the temperature range you have to keep to ferment it is narrower than the other two. So for here, I am just showing how I make rice koji in our very small kitchen without any special equipments.
Makes 1150 – 1200g koji
1000g rice
5g koji spore powder (tane koji), but it can be more or less. Professional people apparently require only one gram for 1kg of rice.
Day One:
1. Wash rice till the water gets clear
2. Soak the rice in a bowl for over night. I leave it for 20 hours in winter but it can be a lot shorter in summer.
Day Two:
1. Drain the water from the bowl. I leave it for a couple of hours changing the angles of the colander to remove excess water.
2. Steam the rice wrapped with a cloth. I use a big pan and a steaming tray till the rice is just about soft enough to stick together when you twist some grains together. It usually takes 40 mins.
3. Sterilise all the equipment such as tray, spatula, thermometer, strainer etc.
3. Put the wrapped rice in a tray and turn them quickly with spatula to cool it down till it gets around 45℃.
4. Put the koji spore powder in a strainer and dust it onto the rice evenly. Mix well with a spatula but try not to crush the rice grains.
5. Gather all the rice together to make a big ball and wrap it with the steaming cloth and another layer of a tightly squeezed wet cloth over it. Most Japanese books tell you not to keep the steaming cloth and not to use another wet cloth but I have never failed in this way. From my very limited experience, I noticed that Koji requires a lot of water in the initial stage so you would be amazed how dry the external cloth gets within a few hours.
6. Keep the temperture of koji between 30 and 40℃ for next 24 hours. I use a cooler box with a little hot water bottle but you can just use a paper bag, a cardboard box or anything you can control the temperature. My mum told me my grandfather apparently used a duvet. So anything is fine. If the temperature goes beyond 40℃, do the step on the day three to cool it down till it gets the temperature range.
Day Three:
1. After around 24 hours, the temperature should go up since it generates heat as the fermentation becomes active. Once the temperature reaches 40℃, unwrap the koji and quickly cool it down using spatula. By this point you can notice the sweet chestnutty smell from koji. It is really beautiful.
2. Flatten the koji and put it back to the cooler box. Check the temperature every now and again for next 18 hours and whenever it gets over 40℃, repeat the cooling down process.
Day Four:
1. Keep the temperature over 40℃ for the final 6 hours and take it out.
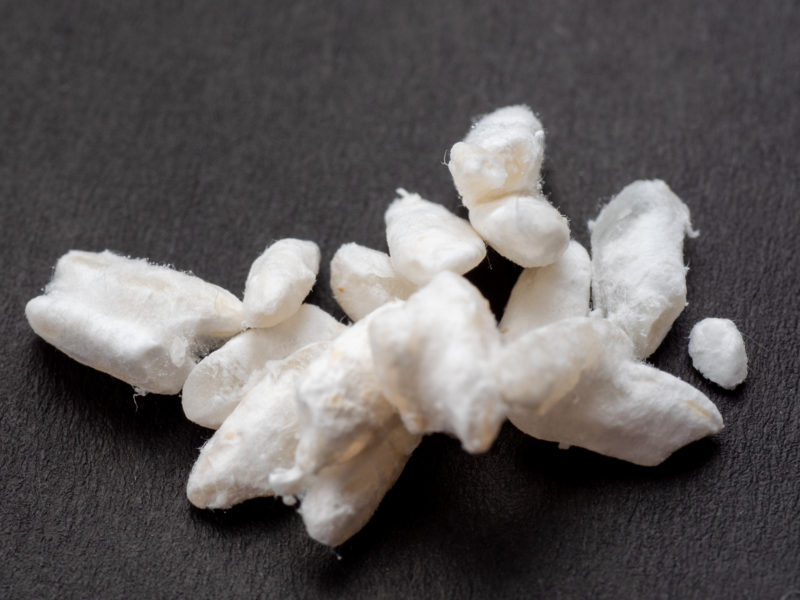
2. Gently separate all the grains and cool it down in the room temperature.
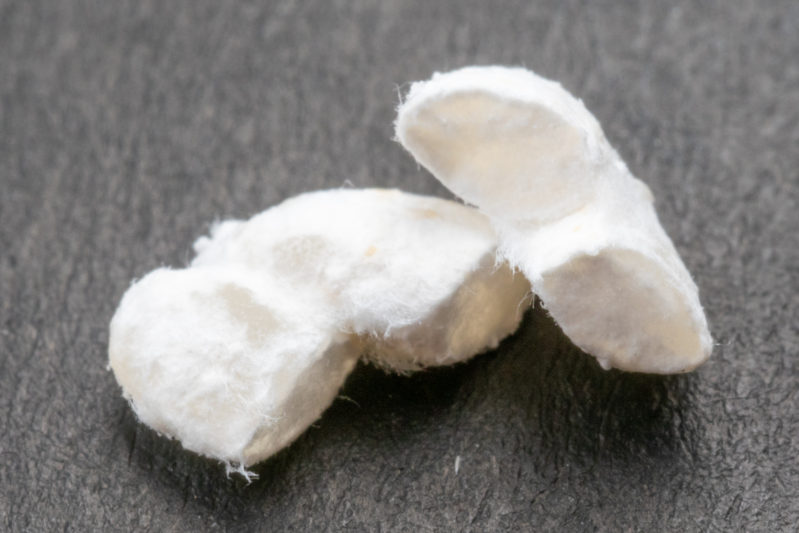
The each rice gain should be covered with white fluffy coat. When you break the grain, you can see the white fungus invades even inside.
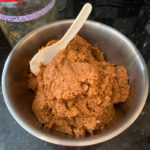
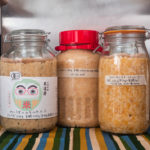
You can use the fresh koji for miso, amazake, shiokoji, or shoyu koji etc. You could keep it in fridge for a couple of weeks and if frozen it should last for a couple of months.
Enjoy!