For last few years, when I mention that I make my own miso to professional chefs or other food related specialists, who I met through work, they quite often asked me how to.
They may have expected something a bit complicated but making miso is not a rocket science. All you need is three ingredients, beans, salt and koji. At the same time, what they may have not expected to hear was ‘you have to wait for nearly a year to get it done’…miso wasn’t made in a day.
I usually adjust my miso to be a little less salty than mass production miso (11 – 12%). For example my formula this year was 1kg of dry soya beans, 1.3kg fresh rice koji and 250g of salt, which make 3kg of miso (8.3% salt).
Just to give you some idea, I have recorded the process this year for the day one and two.
What to do on the day one:
- Wash the beans.
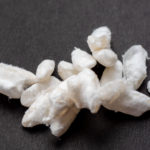
- Soak the washed beans for over night or a few hours more. Just to make sure, break a bean and see if inside of the bean properly absorbed water.
That is all for the day one.
As for the day two, there are quite a bit more work to do:
- Drain the water from the bowl and put the beans in a big pan.
- Put plenty of water in the pan so that all the beans comfortably under the water.
- Put the pan on a medium heat to bring it to boil.
- Simmer the beans gently till the beans get properly soft, until the beans get easily broken when squeezed between the thumb and the little finger, in my case, it took 40 mins.
- Take the beans out from the water. Do not throw the water away yet. Keep a cup of it, just in case you may need to adjust the consistency of miso.
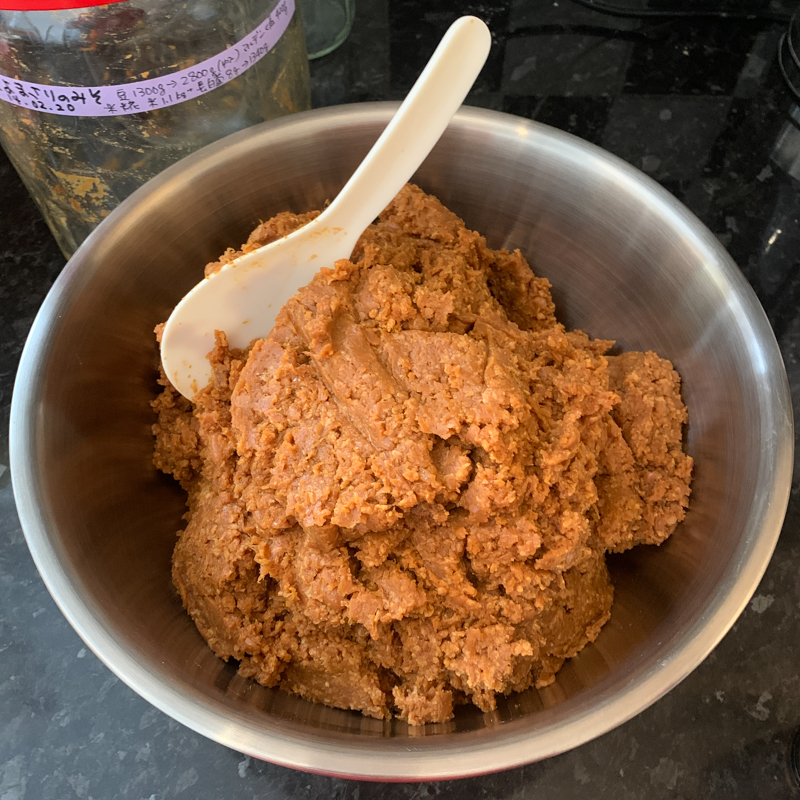
- Put the fresh koji and salt in a big bowl together and mix them well.
- Put beans in a hard-wearing plastic bag, and crush them with hands, a wine bottle or even feet on the bag.
- Once beans are reasonably cooled down*, put the koji and salt mix into the plastic bag and mix them really well.
*please note never mix koji and the boiling hot beans as living koji fungus will die in too hot environment. Make it at least as cold as you can touch - Make balls of mix in size of a tennis ball.
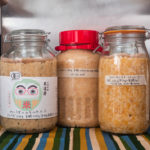
- Sterilise the jar first, then put the balls in the jars crush and flatten them each time. Never allow any air left between as it causes unwanted mould.
- Put a paper on the top so that the surface does not touch the air too much and put a little bit of wasabi on a little dish on the top. A lot of people put some salt at the top to prevent mould but I do not do it personally.
I always store miso jars under the sink, relatively dark and cool place in our flat and leave it for a year. In this way, my miso have never gone too wrong but depending on where you store it, your miso may possibly attract unwanted mould on the top so it is safer to check every now and again.
If you find some mould on the top, just remove that part, then it should be fine. The wasabi usually works well to prevent it.
Hope you enjoy your miso making but if you have any questions, please leave a comment on this page.
On my next post, I will try to write how I make my own koji, again in our small home kitchen in London.